Best Gluten Free Bread Recipe For Bread Machine

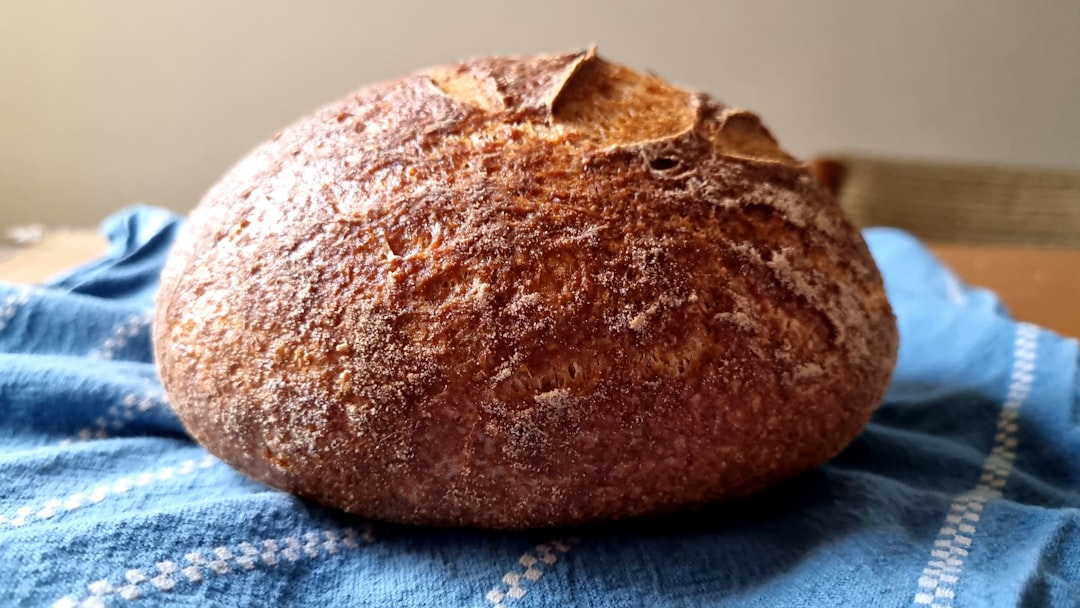
Craving a slice of warm, homemade bread but need it to be gluten-free? You’re in the right place! Making gluten-free bread in a bread machine can seem intimidating, but it’s actually much easier than you think. I’ve spent years perfecting gluten-free recipes, and I’m excited to share my absolute favorite bread machine recipe that delivers soft, delicious, and perfectly textured gluten-free bread every time.
Let’s be honest: gluten-free bread can be a bit… challenging. Store-bought options are often dry, crumbly, and expensive. But with this recipe and a bread machine, you can say goodbye to those problems and hello to amazing gluten-free bread made right in your own kitchen!

Why Use a Bread Machine for Gluten-Free Bread?
Bread machines are fantastic for gluten-free baking because they handle the mixing and kneading for you. Gluten-free doughs often require a different approach than traditional wheat-based doughs. They can be stickier and require specific mixing times. A bread machine takes the guesswork out of the process, ensuring everything is properly combined and baked.
Plus, using a bread machine means less mess and less effort. Simply add your ingredients, set the machine, and let it do its magic. You’ll have a freshly baked loaf waiting for you in just a few hours!
My Go-To Gluten-Free Bread Machine Recipe
This recipe is specifically designed for bread machines and uses a blend of gluten-free flours to create a loaf with great texture and taste. It’s also relatively simple, using ingredients you can easily find in most grocery stores or online.
Ingredients:
- 1 ½ cups gluten-free all-purpose flour blend (make sure it contains xanthan gum)
- ½ cup tapioca starch
- ¼ cup brown rice flour
- 1 teaspoon salt
- 2 tablespoons sugar
- 2 ¼ teaspoons (1 packet) active dry yeast
- 1 ½ cups warm water (around 110°F)
- 2 tablespoons olive oil or melted coconut oil
- 1 tablespoon apple cider vinegar
Equipment:
- Bread Machine
- Measuring cups and spoons
Instructions:
- Combine Dry Ingredients: In your bread machine pan, add the gluten-free all-purpose flour, tapioca starch, brown rice flour, salt, sugar, and yeast. Make sure the yeast is kept separate from the salt and sugar initially, as direct contact can inhibit the yeast’s activity.
- Add Wet Ingredients: Pour in the warm water, olive oil (or melted coconut oil), and apple cider vinegar.
- Select Settings: Place the bread machine pan into the machine. Select the gluten-free setting (if your machine has one). If not, use the basic or rapid rise setting with a light crust. This is often the best alternative if you lack the gluten-free setting.
- Start the Machine: Press start. The machine will mix, knead (or rather, stir), and bake the bread.
- Monitor the Dough (Optional but Recommended): After about 10-15 minutes of mixing, check the dough’s consistency. It should be like a thick batter, similar to cake batter. If it seems too dry, add a tablespoon of water at a time until it reaches the right consistency. If it’s too wet, add a tablespoon of gluten-free flour blend until it thickens slightly.
- Remove and Cool: Once the bread is done, carefully remove the pan from the machine. Let the bread cool in the pan for about 10 minutes before transferring it to a wire rack to cool completely. This prevents the bread from becoming soggy.
- Slice and Enjoy: Once the bread is completely cool, slice and enjoy!
Tips for Perfect Gluten-Free Bread Machine Bread
Use a High-Quality Gluten-Free Flour Blend: The quality of your gluten-free flour blend is crucial. Look for blends that contain xanthan gum, which acts as a binder and helps give the bread structure. Bob’s Red Mill Gluten-Free 1-to-1 Baking Flour and King Arthur Gluten-Free Measure for Measure Flour are both excellent choices.
Measure Accurately: Gluten-free baking is more precise than traditional baking. Use measuring cups and spoons to ensure you have the correct amount of each ingredient.
Warm Water is Key: Make sure your water is warm (around 110°F) to activate the yeast. If the water is too hot, it can kill the yeast. If it’s too cold, the yeast won’t activate properly.
Don’t Overload the Machine: Avoid overfilling the bread machine pan. Gluten-free doughs don’t rise as much as traditional doughs, but they still need room to expand.
Let it Cool Completely: This is super important! Gluten-free bread is often gummy when warm. Allowing it to cool completely helps it firm up and improves the texture significantly.
Experiment with Flavors: Once you’ve mastered the basic recipe, feel free to experiment with adding different flavors. Some ideas include adding herbs like rosemary or thyme, spices like cinnamon or nutmeg, or even dried fruit like raisins or cranberries.
Consider a Bread Machine with a Gluten-Free Setting: If you plan on making gluten-free bread regularly, investing in a bread machine with a dedicated gluten-free setting can be a game-changer. These settings are specifically designed to optimize the mixing and baking times for gluten-free doughs.
Troubleshooting Common Problems
Bread is too dense: This could be due to not enough liquid or too much flour. Make sure you’re measuring accurately and adjust the liquid accordingly.
Bread is too crumbly: This is often caused by not enough binder. Ensure your flour blend contains xanthan gum, or add an extra ½ teaspoon of xanthan gum to the recipe.
Bread didn’t rise: This could be due to inactive yeast, water that was too hot or too cold, or not enough sugar for the yeast to feed on. Check the expiration date on your yeast and make sure your water is the correct temperature.
Bread is gummy: This is usually because the bread wasn’t allowed to cool completely. Be patient and let it cool thoroughly before slicing.
Storing Gluten-Free Bread
Gluten-free bread tends to dry out faster than traditional bread. To keep it fresh, store it in an airtight container at room temperature for up to 3 days. You can also slice the bread and freeze it for longer storage. When you’re ready to eat it, simply thaw a slice or two and toast it.
FAQ: Gluten-Free Bread Machine Baking
Can I use a different type of gluten-free flour?
Yes, you can experiment with other gluten-free flours, but keep in mind that it may affect the texture and taste of the bread. A blend of flours generally works best for achieving a good result. If you are experimenting, start by swapping only a small amount of one flour with another. Also, be sure your flour blend includes xanthan gum.
Can I make this recipe without a bread machine?
While this recipe is specifically designed for a bread machine, you can adapt it for baking in a regular oven. You’ll need to mix the dough well (a stand mixer is helpful), let it rise in a warm place, and then bake it in a preheated oven until golden brown.
Is it really necessary to let the bread cool completely?
Yes, absolutely! This is especially important for gluten-free bread. Letting it cool completely allows the starches to set and prevents the bread from being gummy.
What if my bread machine doesn’t have a gluten-free setting?
If your bread machine doesn’t have a gluten-free setting, use the basic or rapid rise setting with a light crust. Monitor the dough closely during the mixing process and adjust the baking time if needed. Start checking for doneness about 10 minutes before the cycle is supposed to end.
With this recipe and these tips, you’ll be well on your way to enjoying delicious, homemade gluten-free bread. Don’t be afraid to experiment and adjust the recipe to your liking. Happy baking!


